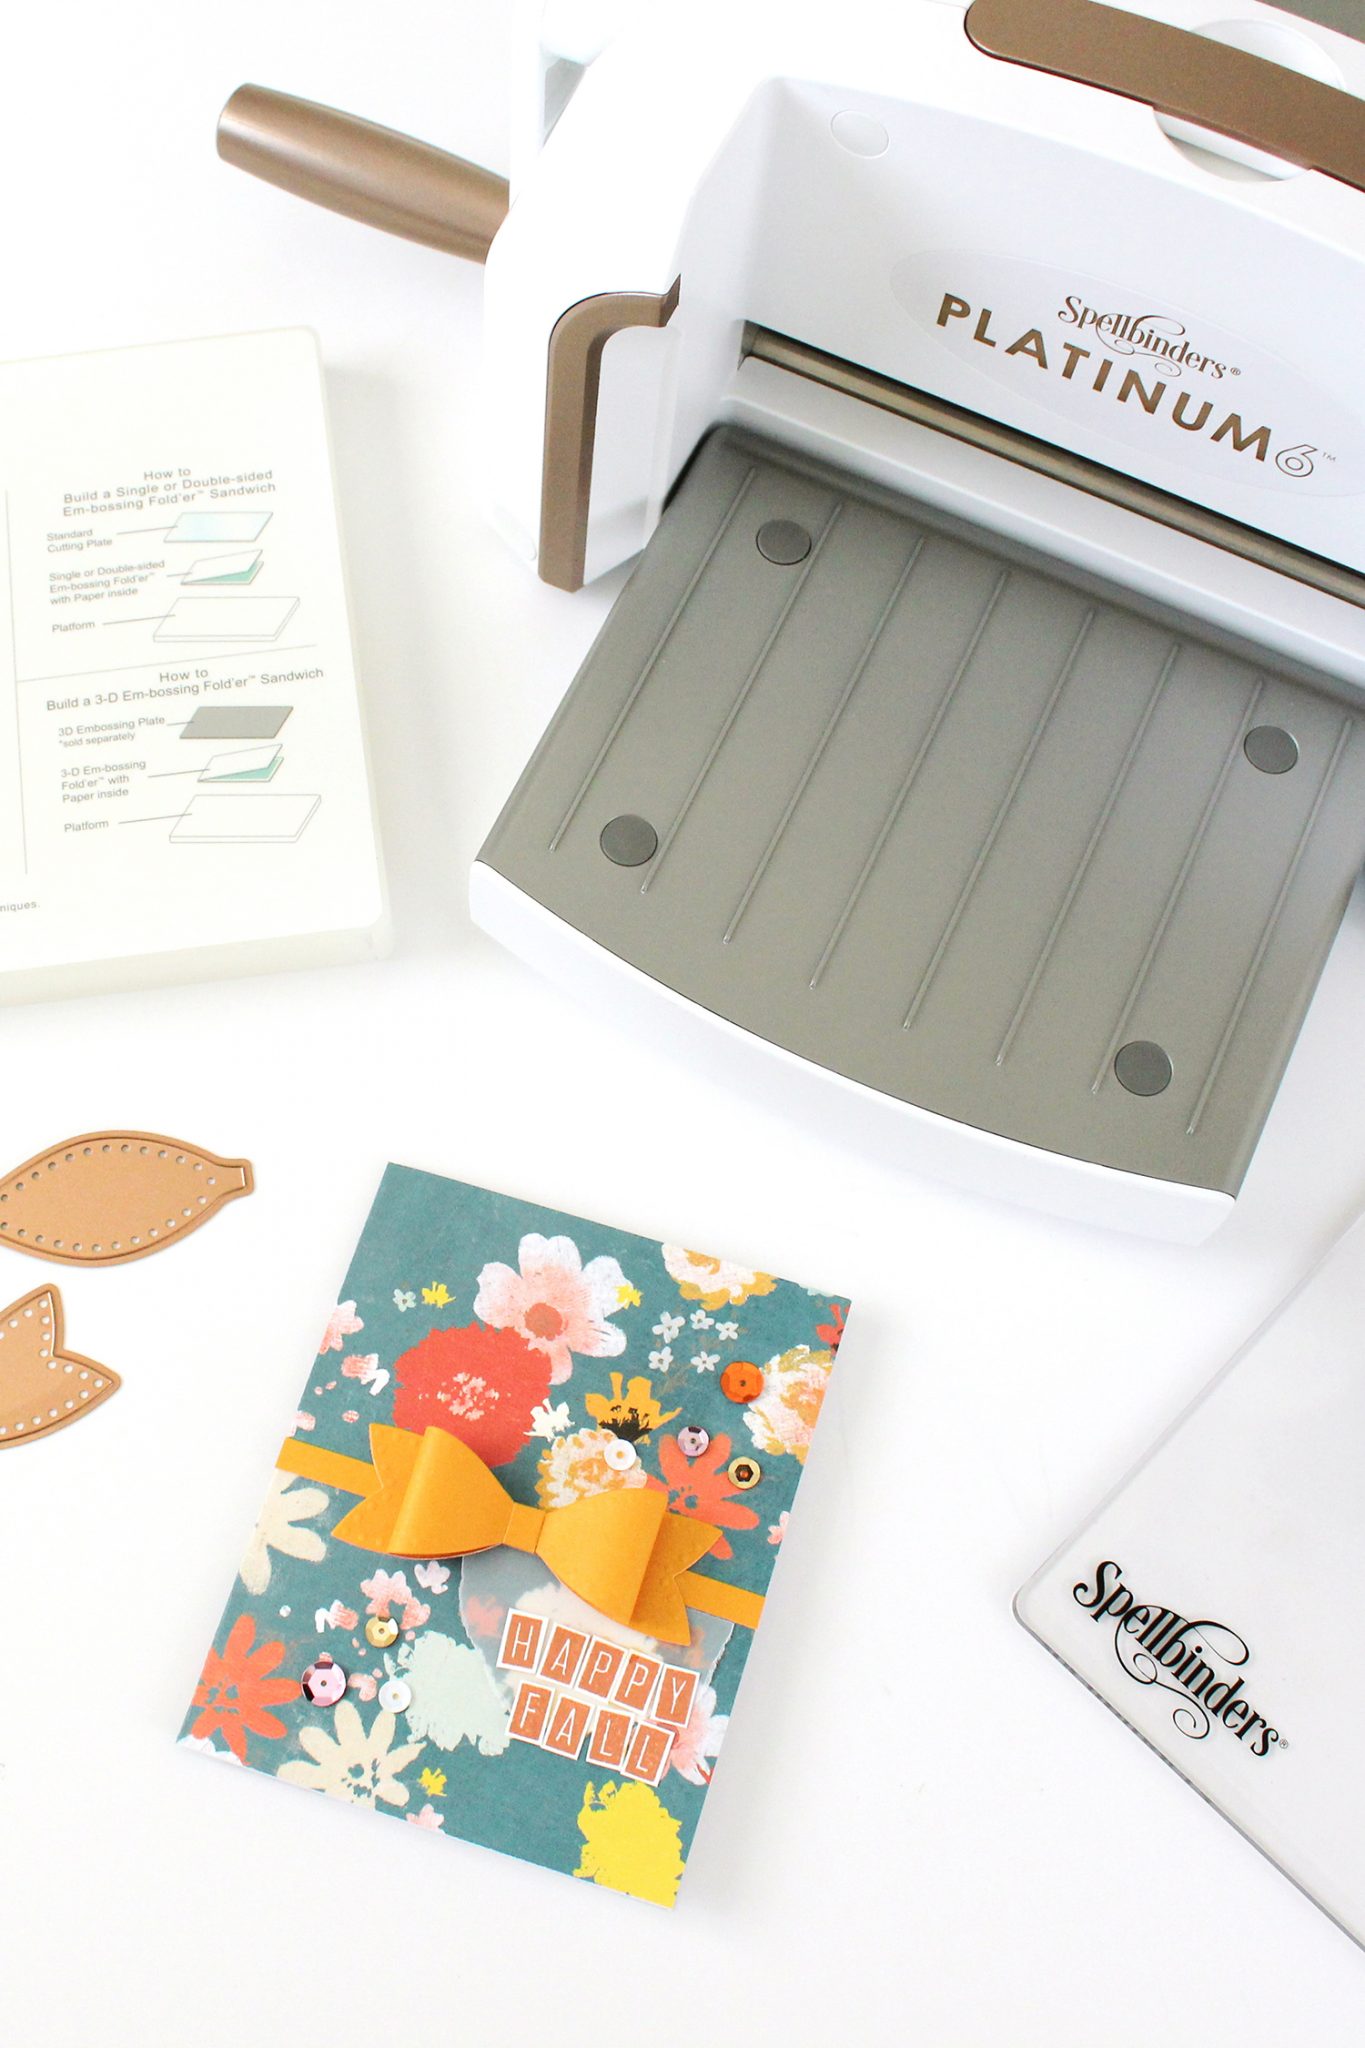
I’m so excited to be showing you my first project with my partnership with Scrapbook.com and Spellbinders to try out the Platinum 6 Die Cutting machine from Spellbinders. This die cutting machine is so easy to use. For this first project with this machine, I used the bow ties die cuts to make a fall themed card. I have quite a few pen pals now and I want to start making homemade cards to send them. This bow tie die set was so perfect for making a cute card.

The Platinum 6 Die Cutting machine is easy to use, because it comes with a platform that show you how to create the ‘sandwiches’ you need to make in order to cut the dies properly. It’s so easy!
To make my bow, I used an old Project Life card to cut out my dies. The clear cutting mats make it easy to make sure your paper and dies are lined up properly. Once my sandwich was ready, I just turned the handle to pull the project through. Be aware when you’re doing this that it will make cracking noises, but everything is okay! The cutting mats can make a loud sound as the die is being cut, but that’s perfectly normal.
Once my dies were cut, it was time to emboss! I put the paper and dies back through the machine by following the embossing sandwich instructions on the platform. It was so easy and add really cute little details to my die cuts.
Sometimes the paper can be hard to get out the dies or the small detailed cuts can be hard to get out of your cut project. Spellbinders makes a tool to go with the machine that lets you brush or poke the paper out. I had to use it to get the small paper out the bow tie center die.


After that, it was time to put my die cuts and card together.
The bow tie is easy to put together. You just have to bend the piece with the two ovals to create the loops of the bow. Then, you adhere that to the bottom piece of the bow. Lastly, you secure the whole thing together by bending the small center piece around the middle. It can be a little tricky to work with because it’s small, but it’s not too bad. I used a roller tape adhesive, so I didn’t have to hold it while glue dried.


To make the card, I used another card to get the size I want and cut down an 8.5×11 piece of pretty card stock. It’s so easy and fun to make your own cards out of card stock! To make it look like a bow wrapping around the paper, I cut small, thin pieces of paper off the Project Life card I was using. I didn’t have enough to cover the length of the card, so I cut two pieces and put them together. I hid the seam under the bow. I used more roller tape to add the bow to the front of the card.


To add embellishments, I used glue to add a small piece of ripped vellum and sequins to the front cover. Then I stamped out small letters to spell out ‘Happy Fall’ and glued those on as well.
This card was super easy and fun to make, but it looks like it took a ton of time. What I love about the bow tie die cuts is that I can make card like this for every holiday, birthday, event, and more and each one would look so different depending on the paper and embellishments I used.
The bow tie ends up being 3D, which is really cute. But I will have to flatten it to send it out as a card. If you don’t want to flatten it, it would like really cute on gift wrapping too!

Do you have a Spellbinders machine? If so, what are you favorite die cuts? If you don’t, do you have any questions about how it works? And if you’re interested in buying one, they are on sale at Scrapbook.com. Click here to find the machine and click here to find the die cuts.
Thanks for checking out my project! Stay tuned for the second project soon! xo. Laura
[table id=4 /]